Troubleshoot : Fixing Common Roof Lantern Blind Issues
Keen attention to detail is something that we pride ourselves on here at Skylight Blinds Direct- especially with our roof lantern blind range. We want every single customer to have the best blind for their home - one that helps them to manage light, privacy and enjoy the space around them. To help alleviate costs for you, we supply our blinds with full instructions so you can fit them yourselves online too. Alongside this, you’ll find visual tips on our YouTube page too. In a bid to bring this information together into an easily digestible form, this blog post will include a number of troubleshooting tips and advice for our Roof Lantern Blind. And, always remember, if you have any difficulty with your blinds, get in contact with the Skylight Blinds Direct team here today.
Why quality checking is essential to our business?
As we mentioned above, quality is a key focus for our business. We design our blinds to sit perfectly within your skylights, to cover your roof lanterns and to integrate seamlessly into your homes. Every single blind that we manufacture is done to meet your requirements. And, once we have built it, it enters into our quality control process. We check every delivery in our factory, reviewing all fabrics used and components to make sure they meet our requirements. For motorised blinds, we test the operation to ensure you are able to cover and expose your windows without issue. We want to make sure the blind fabric glides smoothly, stops when requested and responds to use. You can see one of our roof lantern blinds being tested in the video below
Quality is something we take very seriously here. But, we also understand that nothing can ever be 100% perfect. Our Troubleshoot series is there to help with common issues we hear from our customers. Thankfully, most of these are easy to rectify at home - requiring no extra labour or expense to you!
What are roof lantern blinds?
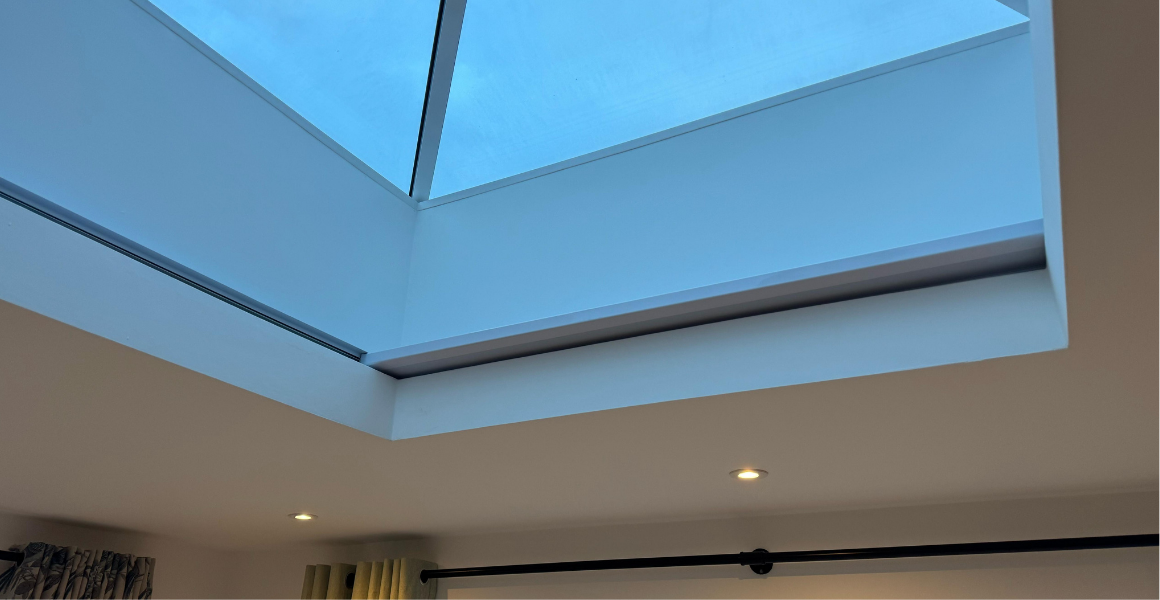
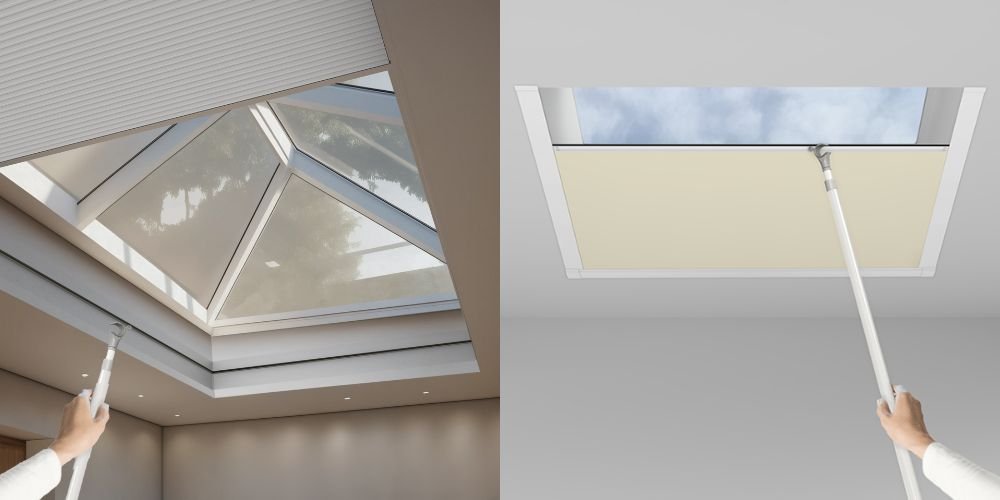
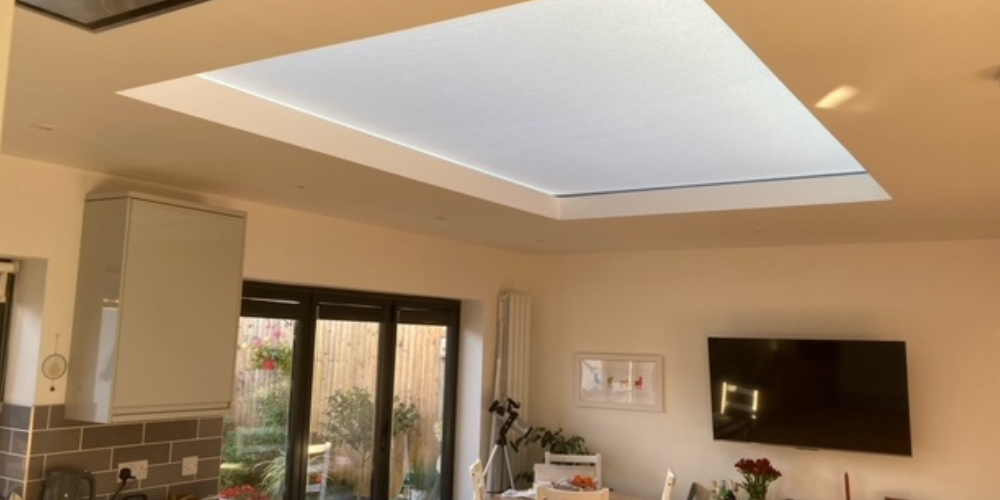
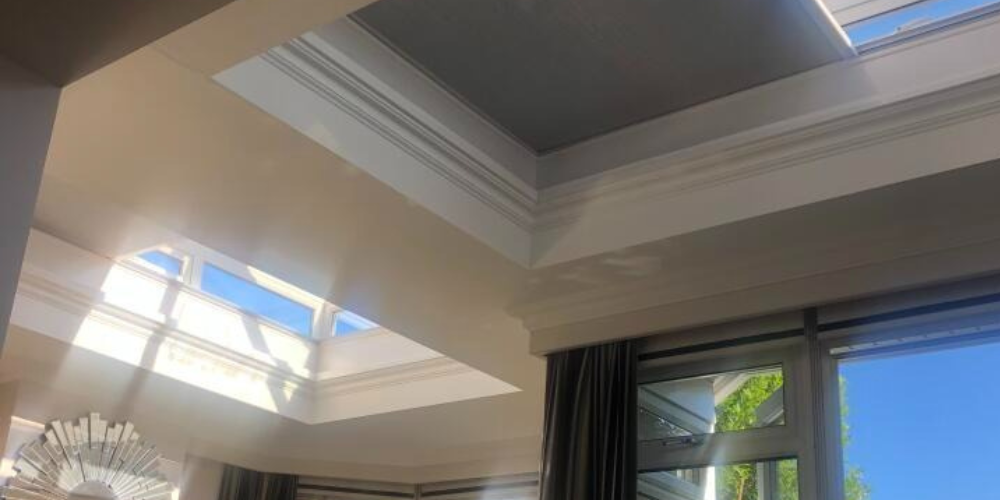
Firstly, let’s look at the type of blind we’re discussing in this video - the roof lantern blind. Normally used on conservatories or single floor extensions, roof lanterns are glass structures that sit on flat roofs. Because of the abundance of glass, they allow a lot of light into a space and are highly popular for this reason. While lots of light is great, it does come with downfalls. Heat build-up, glare and fading on soft furnishings are all reasons we always recommend considering a blind for your roof window. To solve these issues, roof lantern blinds are designed specifically for these unique constructions. They sit in the recess of your roof lantern and glide over the space to provide a barrier against the light. This creates a seamless look in the room, one that can easily integrate itself into the style of your room without compromising on the usability of the space. Here at Skylight Blinds, we have two main options when it comes to roof lantern blinds: The LanternLITE Honeycomb Blind The LanternLITE Zip Roller Blind Visit our website to learn more about each one or head over to our Guide To Roof Lantern Blinds here.
Troubleshoot - Common issues and how to fix them
In this blog, we’ll look at 3 main issues we hear with our roof lantern customers:
- Blinds Not Closing
- Zip Falling Out Of Channels
- Changing Fabric Reel
Blinds Not Closing
On occasion, you may notice that your roof lantern blind isn’t closing how it should. This may be because the roof blind is stopping a little distance from the end of its travel. Normally, this is caused by excessive friction on the zip edges of the fabric than tension available from the spring tension units found in the bottom head box. The best way to recognise if this is the issue is to check whether the blind does shut when you lift the blind manually from the centre. To fix this, you need to reduce the distance between the side channels. During installation, this distance will normally be the same as the head box width. Due to gravity and fabric sag, the friction on the zip increases along the edges of the fabric. To correct this, you need to move the two channels closer together (around 5-10mm on each side).
- Fully open your blind so the fabric is completely retracted back into the head box
- You will need long nose pliers and a flat screwdriver
- Remove the zip insert using the flat screwdriver. Insert the screwdriver into the channel and lift the insert.
- Grab the rubber fin with long nose pliers and pull the insert at a slight insert.
- Once some is out, pull the rest with your hands
- Remove until you can access the fixings in the centre of your channel.
- Slacken the fixings and place packers behind the channel to decrease the distance between the side channels
- Replace zip insert
- Run the blind again
Zip Falling Out Of Channels
In some situations, the zip may fall out of the insert on one side. As the blind go further across, you’ll notice it more. You may notice that the zip is missing the zip guide and is dropping out, as a result. Normally, this happens when the roof lantern blind has not been fitted perfectly square. The fabric in your blind is manufactured square. If the frame it sits in isn’t square too, the fabric will be forced to travel at an angle - towards one and away from the other channel. During installation, check that the blind has been fitted square. To do this:
- Measure from corner to corner - Both should be exactly the same.
If this doesn’t solve the issue, you may notice that the fabric has been forced off the centre of the tube. To fix this:
- Unroll the fabric
- Gain access to the spline attaching the fabric to the tube
- You may find a screw from the fabric to the tube which prevents movement
- Check that there is an equal amount of tube showing at each end of the blind.
- If the issue persists, slide the fabric off the centre of the tube towards the edge where the zip was coming out.
In some situations, you may need to completely replace the fabric on your roof lantern blind.
Changing Fabric Reel
To change the fabric panel or to recentre the fabric on the tube, you should:
- Remove the motor from the tube to dislocate the motor from the drive wheel
- Unroll the fabric entirely - do so on the floor to ensure you have enough space
- Once the tube is exposed, check if there is a screw fixing the tube to your fabric
- Check if there is a screw between the tube and the step down adaptor - remove if present
- If you have removed the motor, check the motor end of the tube. If you see a screw through the spline spot and through the tube, it will connect into the plastic drive wheel inside. You will need to remove this and remove the drive wheel.
- Slide the tube off the fabric channel or recentre
- If replacing, slide a new fabric panel onto the tube.
- Make sure to put the end of the spline into the short side of the grove in the tube.
- Slide the tube along the fabric
- Make sure the gaps on either end are the same
- Replace the bearing and step down adaptor. Replace the screw here too.
- Re-assemble the components onto the motor and slide it back into the tube
- Replace the screw through the tube and into the drive wheel
- Roll the fabric back onto the tube. Take care not to tangle the motor cable while doing this
These are some of the common questions we get here at Skylight Blinds Direct. If you’re having a separate issue with your roof lantern blind and would like to speak to a member of our specialist team, please do get in contact here today.


